Monday, May 18, 2015
Butterfly Rose Designs Has Moved
Hi Everyone! Letting you all know that Butterfly Rose Designs has moved. I would like to thank all those who have visited my blog over the last five years and invite you to come to my new site.
You can find the new Butterfly Rose Designs here:
Butterfly Rose Designs
Goodbye for now!
Friday, February 6, 2015
Thursday, February 5, 2015
How Did You Get That Shot? Taking Photos At Night
The second part in the 'How Did You Get That Shot?' series is about taking photos at night.
I have found that during my first 365 project and even into my latest project, many of my photos have been taken at night. At first, I was not confident at all with taking photos at night. But with a little practice things started to get better.
Here's the things I use for night photography:
Today I'm going to talk about what I use as a light source.
At home I find the brightest light is in my kitchen, but it alone is still not strong enough to light my subjects.
My go to light source is a torch / flashlight.
I usually place the light as close as possible to the subject without letting it appear in the frame.
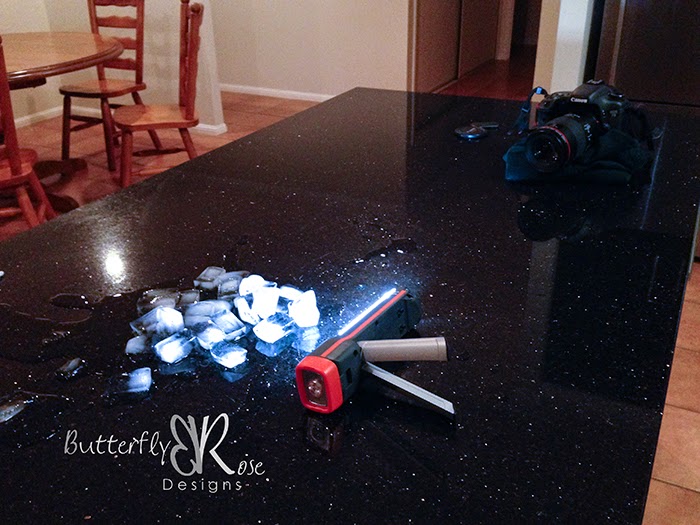
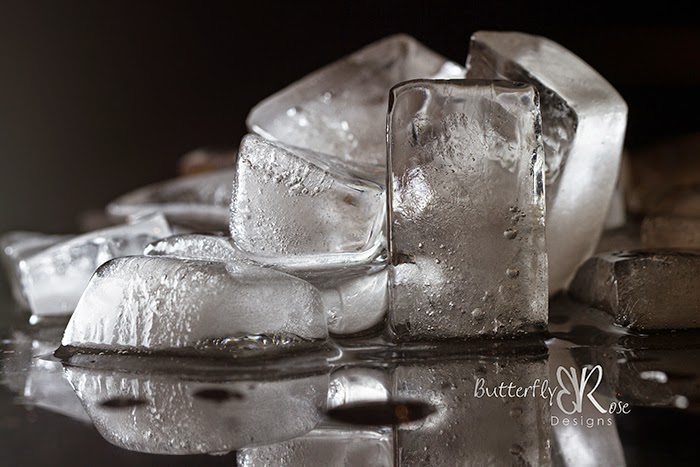
In the image above, you see that the torch is so close to the ice it is almost touching it. Below is the result.
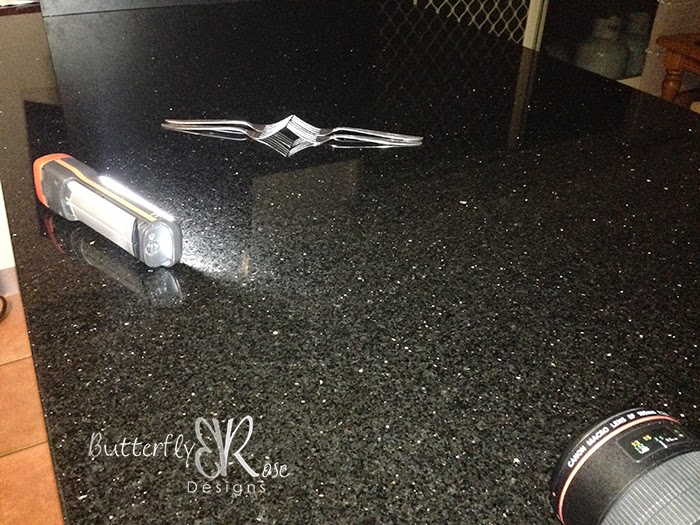
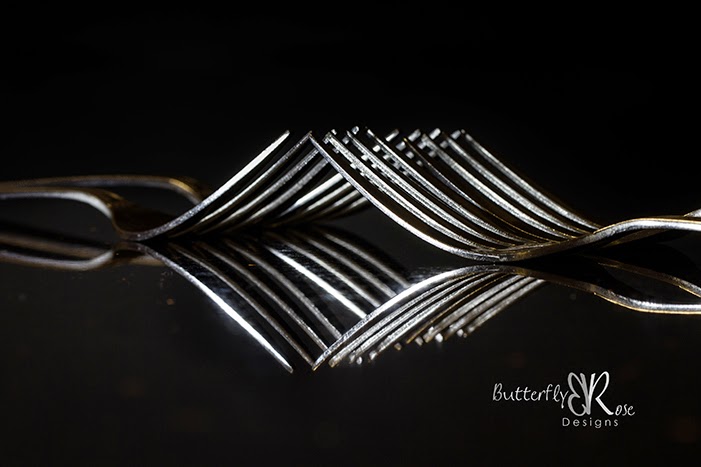
Below is another example. The torch was placed a little further away this time to avoid too much light reflecting off the forks.
To get a lighter background you could place the subject on a white board with another white board behind it.

You could also use your phone or tablet as a light source. The image was taken using the SoftBox Pro for iPad app. I simply opened the app, selected the type of light I wanted to use and placed the subjects on the iPad.

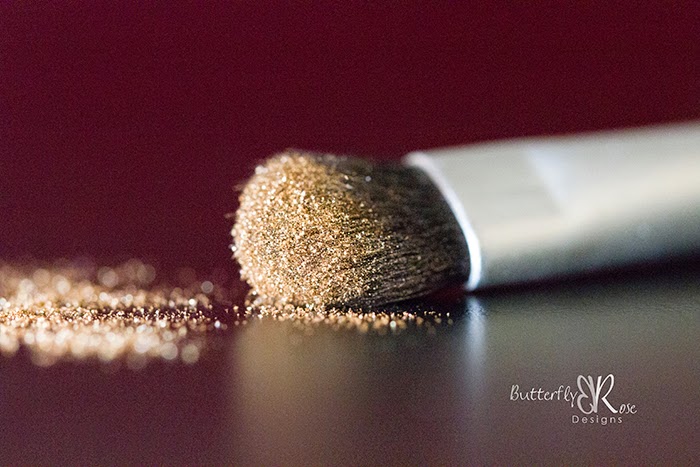
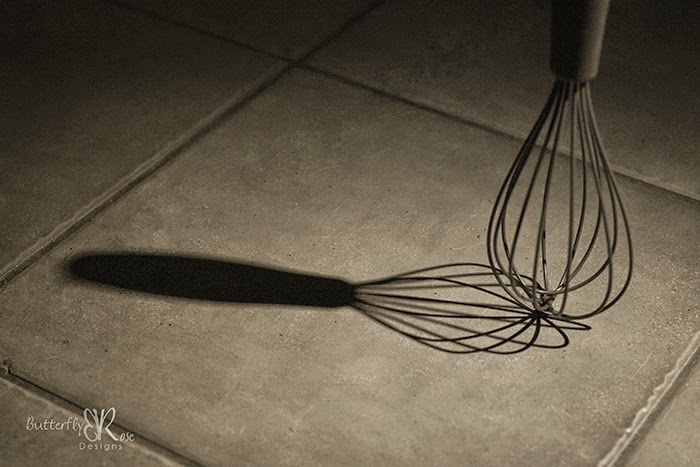
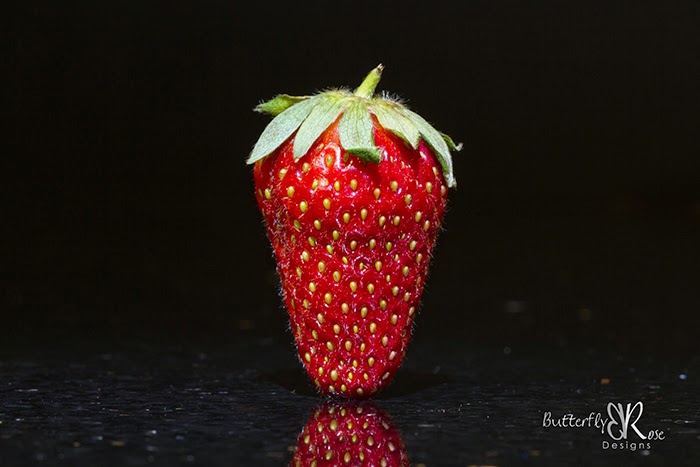
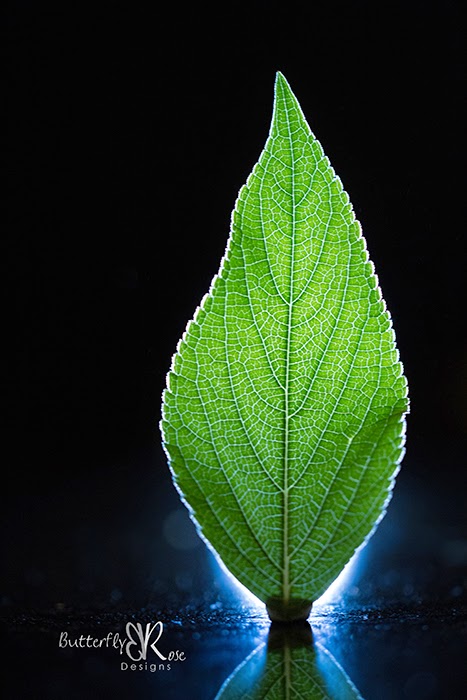
Here are some more night time photos:


Have fun creating!
I have found that during my first 365 project and even into my latest project, many of my photos have been taken at night. At first, I was not confident at all with taking photos at night. But with a little practice things started to get better.
Here's the things I use for night photography:
- A tripod or a stable surface to place the camera.
- A remote shutter release or self-timer.
- A light source.
Today I'm going to talk about what I use as a light source.
At home I find the brightest light is in my kitchen, but it alone is still not strong enough to light my subjects.
My go to light source is a torch / flashlight.
I usually place the light as close as possible to the subject without letting it appear in the frame.

In the image above, you see that the torch is so close to the ice it is almost touching it. Below is the result.

Below is another example. The torch was placed a little further away this time to avoid too much light reflecting off the forks.


To get a lighter background you could place the subject on a white board with another white board behind it.

You could also use your phone or tablet as a light source. The image was taken using the SoftBox Pro for iPad app. I simply opened the app, selected the type of light I wanted to use and placed the subjects on the iPad.

Here are some more night time photos:


Have fun creating!
Wednesday, January 28, 2015
How Did You Get That Shot? Changing A Reflection
I've had a lot of questions lately about how I created some of my images, so I've decided to publish a regular series of blog posts titled "How Did You Get That Shot?"
The first one in this series is: Changing A Reflection.

This image was created as part of my 365 project. The prompt for the day was: A Reflection Of Me.
There is a great post over on the Capture Your 365 blog by Jeannie Thiessen titled How To Create A Multiplicity Photo. The end result is the same as mine but I used a different method to get there.
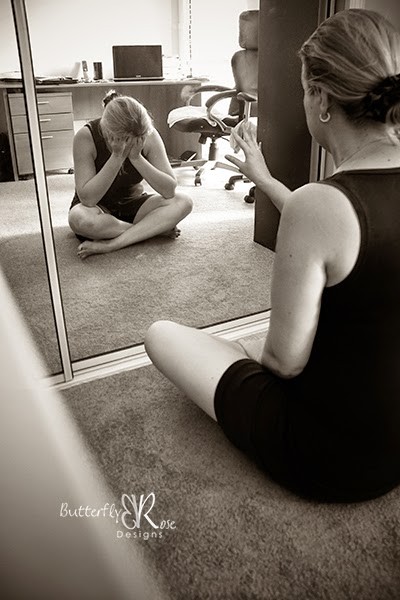
Here's my version:
You don't need a lot of space for this type of shot. My images were taken in our home office on the floor between a desk and a filing cabinet.
The most important thing to remember when doing a composite photo is to keep the camera in the same place. If the camera moves between shots, then the layers will not match up during processing.
I placed my camera on a desk. At first I was using my 50mm lens, but because I was in a small space, only a small part of me could be seen in the image. When I changed to my 18 - 200mm lens set at 18mm, I could fit more into the frame. My settings were: f4.5, 1/15 sec, ISO 2000, 10 sec timer. I kept my ISO high even though the camera was in a fixed place. This was because I didn't want my shutter speed any lower in case I moved during the shot.
My first shot was the space without me in it.
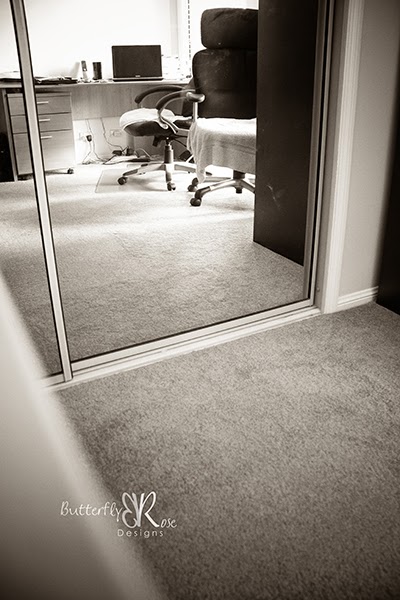
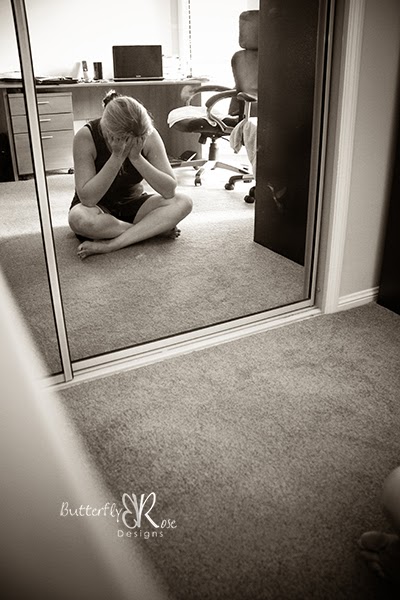
The next image was the one I wanted to have as my reflection. I sat away from the mirror to ensure there was space in front of the mirror, because that was where I was planning to sit for the next shot.
For my third and final shot, I positioned myself close enough to the mirror to touch it.
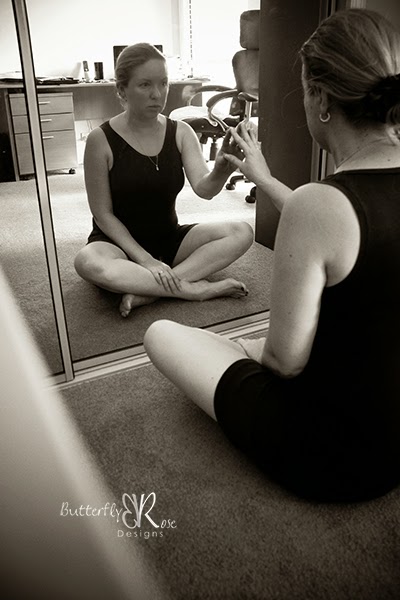
The next part involves processing the three images in Photoshop to create one final image.
Firstly, I opened the image that I wanted to use as my reflection and labelled it as 'Behind Mirror'.

Next, I placed the image without me in it above the first layer and labelled it 'Empty Mirror'.

Finally, I added the last layer which is the image of me touching the mirror and labelled it 'In Front Of Mirror'.

The next part involves Layer Masks. I love using Layer Masks as they are a non-destructive way to erase part of an image. You simply 'mask' instead of erase. If you make a mistake, you can swap the colour chips to paint back the parts you've masked or you can delete the mask and the image remains unchanged.
To add a layer mask, simply click the layer mask icon at the bottom of the layers panel and a white rectangle will appear next to the thumbnail on the active layer.
Repeat this step for the layer below.
Choose a soft round brush from the brush picker. Then press 'D' to set the colour chips to the default colours of black and white.
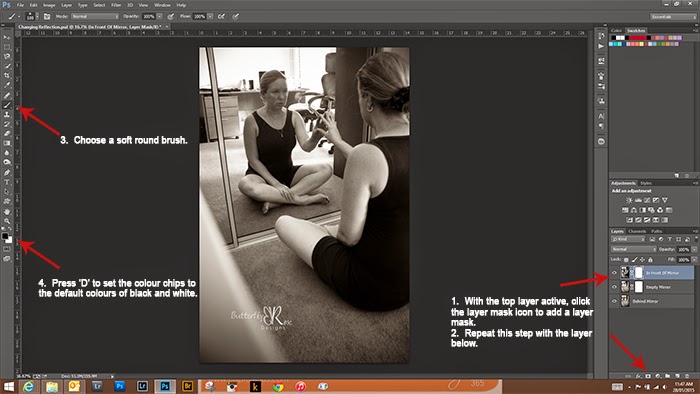
The next part is where the magic happens.
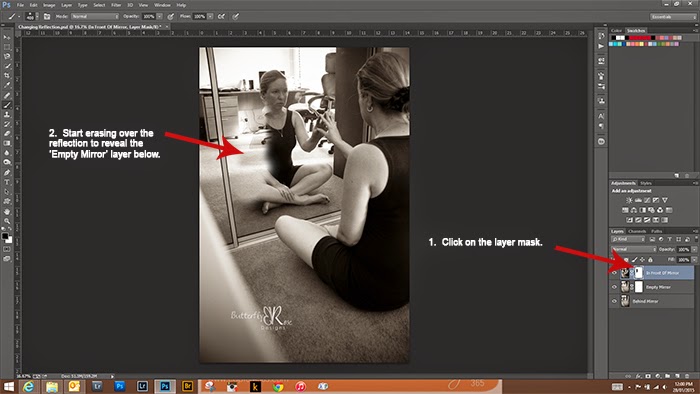
Select the layer mask in the top layer labelled 'In Front Of Mirror'. Start brushing away the reflection part in the mirror to reveal the 'Empty Mirror' layer below. If at any time you make a mistake, simply press 'X' to reverse the colour chips, then brush in the part you want back.
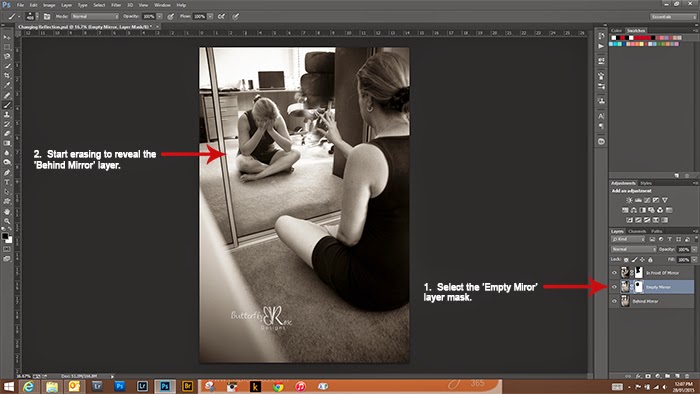
Once you are happy that the reflection is gone, select the layer mask in the 'Empty Mirror' layer and brush away the empty space to reveal the reflection in the bottom layer.
And there you have the final image.
Have fun creating!
Thursday, January 8, 2015
I did it! My first ever 365 project is finished.
I'm so proud to say that my first ever 365 project is finished!
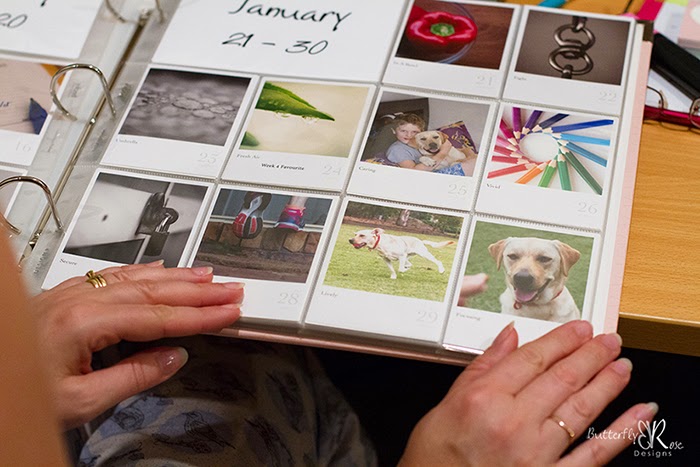
But this was not the first time I had ever attempted a photo a day project – it was my fourth.
For the previous three years I set out on January 1 with the aim of taking a photo each day for a year and each year I had given up by March. I thought taking a photo each day would be easy, but it wasn’t. There were the same excuses: “Life’s too busy; Don’t like the prompt; Don’t have any ideas; Don’t feel like taking a photo today” ……. and the list goes on.
So what changed the fourth time around?
On 1 January 2014 I told my family about Capture Your 365, the daily prompts and what I planned to do. They were happy to help, giving me ideas, being my models and lending a hand when I needed one. The secret to my success was to not do this alone.
So what did I learn over the past year?
- If you take a photo every day it will become a habit. I now expect to take a photo at some part of the day.
- Taking a photo every day will make you a better photographer. I have seen an improvement in my photography since the start of the year and even sold some of my images that I have taken as part of this project.
- Following the prompts will stretch your creativity. I found the prompts challenged me to take images I would not have attempted in the past.
- It’s okay to not follow the prompts. Life happens. Sometimes you or a family member gets sick. Sometimes the daily photo has nothing to do with the prompt. It’s important to capture everyday life.
- Self-portraits are no longer scary. Being the photographer in the family, I was always the one behind the camera and there were never any pictures of me. Now I enjoy being in front of the camera and am glad that I have some photos of me to share with my family.
- Your torch will be your new best friend. Life does get busy and many times throughout the year I didn’t get to take my daily photo until after dark. At first it was challenging but now I love taking photos by torchlight.
- You will put you camera in unusual places. In order to get 'that' shot, sometimes you need to do something a little different.
- Being part of a community of photographers is important. It’s wonderful to know that there are others doing this project too. I have loved sharing in everyone’s daily lives, to see snow while trying to keep cool during an Aussie summer, to see everyone’s families including the fur babies, and to be privileged to share in the deep personal moments such as the joy of a new addition to the family or the sad loss of a loved one. Even though I have not met anyone in person, I feel as though I have many lovely friends that I have connected with thought the year by sharing in photos and comments.
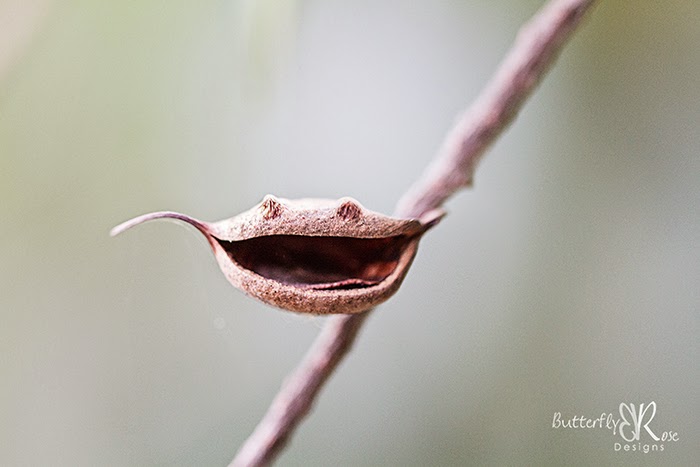



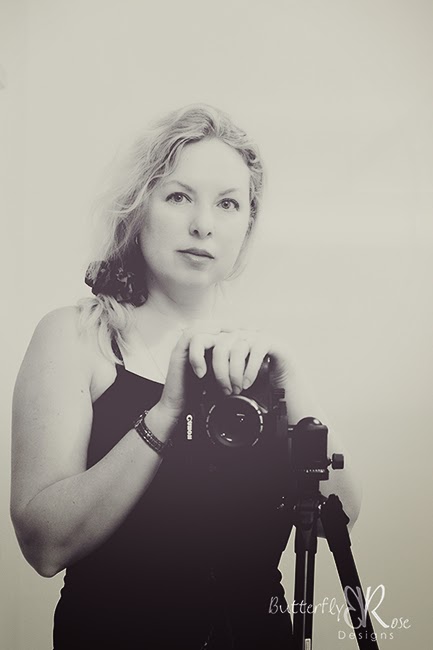
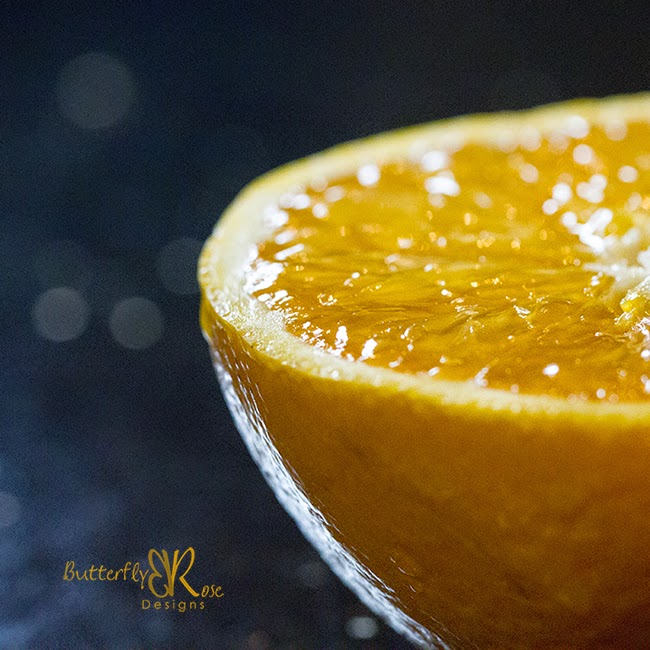
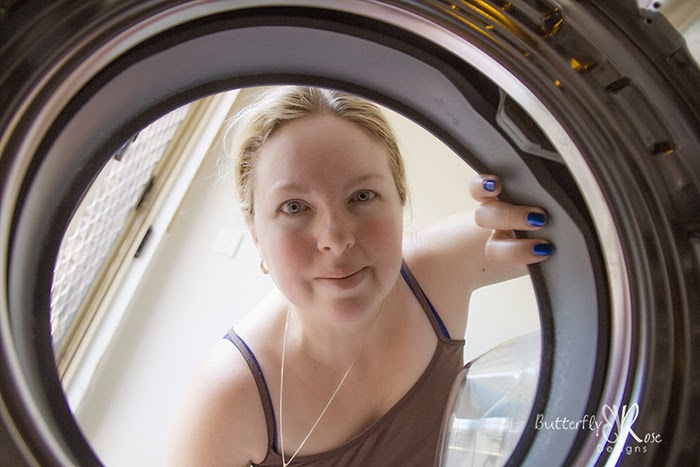
So what’s next? In 2015 I’m doing it all again. Why don't you join in over at Capture Your 365. It doesn't need to be January 1. You can start at anytime. I hope I’ll see some familiar faces along with some new ones.
Monday, September 29, 2014
Capture Your 365 - Update
Although I haven't added any new project pictures to the blog since day 60, my photo a day project is still going strong. It's 272 days into the year and I'm still going. The act of taking a photo each day has now become a habit for me. Although I must admit, there have been a couple of days recently where I have taken some photos very late at night. Instead of posting every photo here, I'm just going to pick my favourites for each month.
Here are some favourites from the March, April and May:
Day 66 - Frustrated
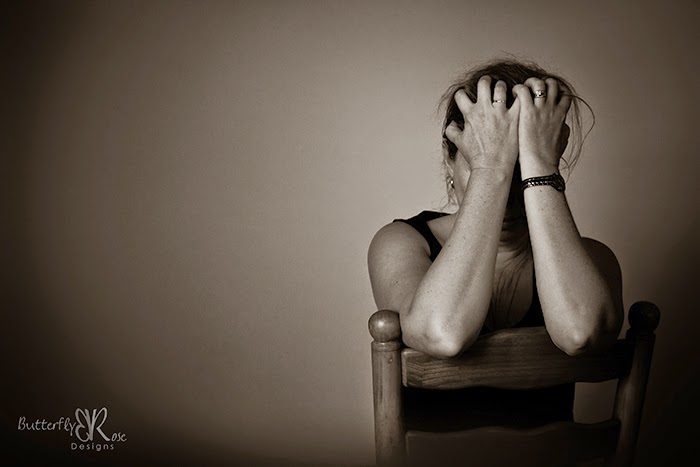
Day 69 - Asymmetrical
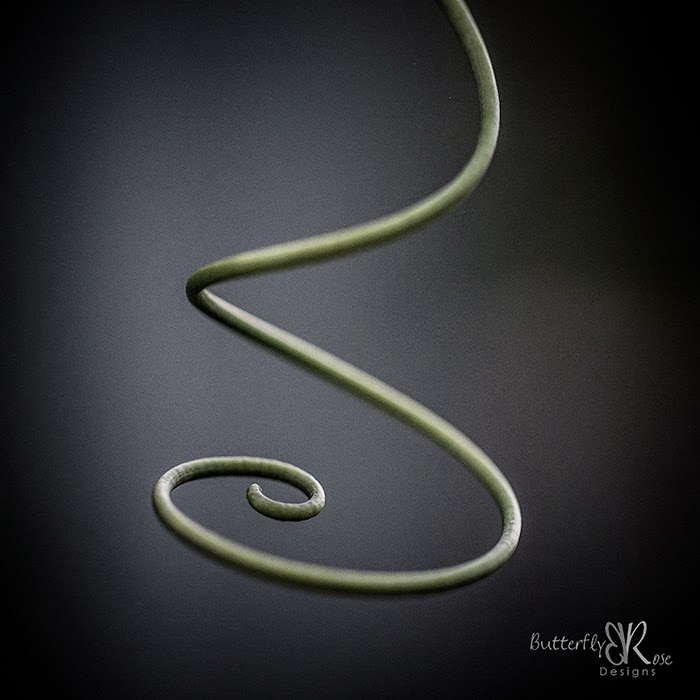
Day 87 - Foreground
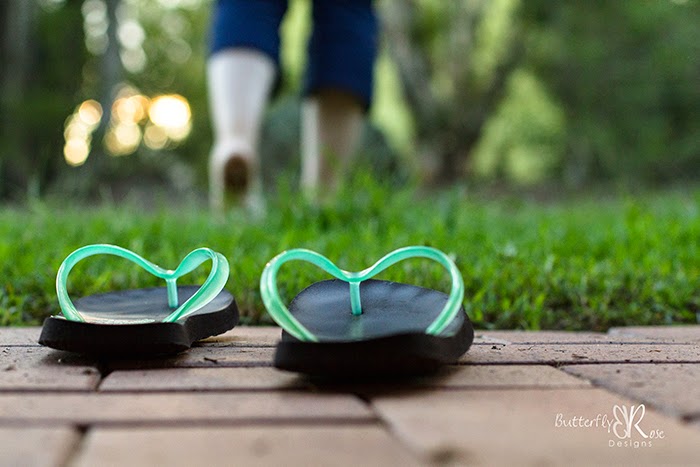
Day 89 - Tight
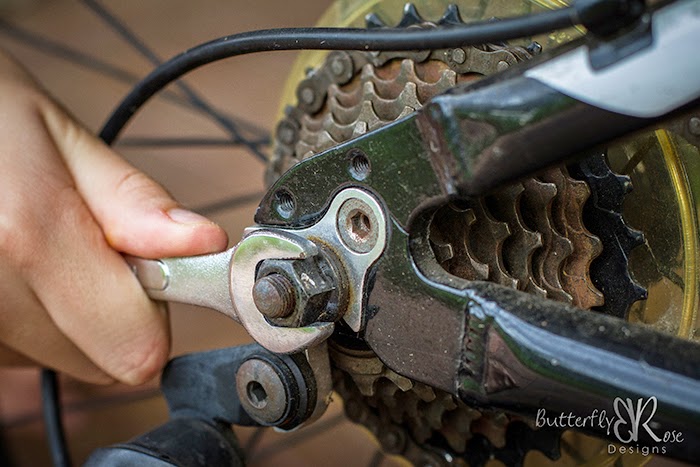
Day 103 - Comical
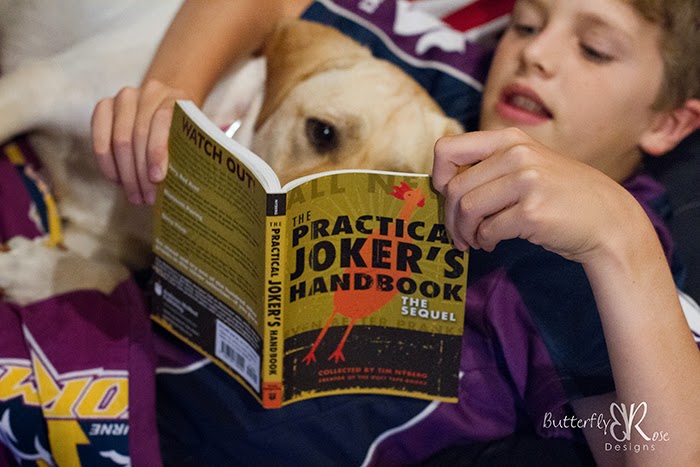
Day 111 - Multi-Coloured
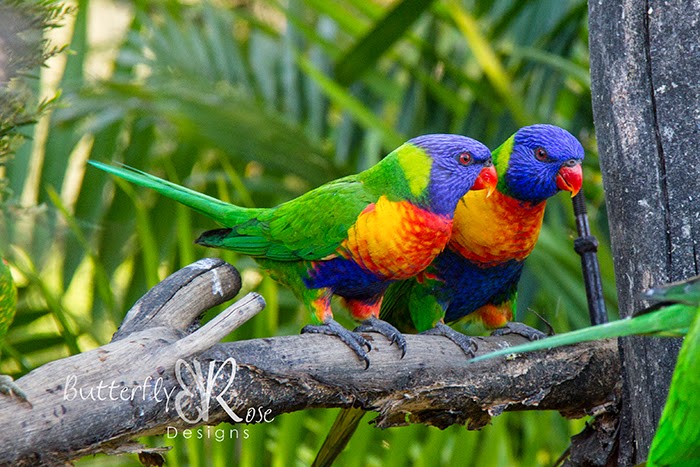
Day 115 - At Last
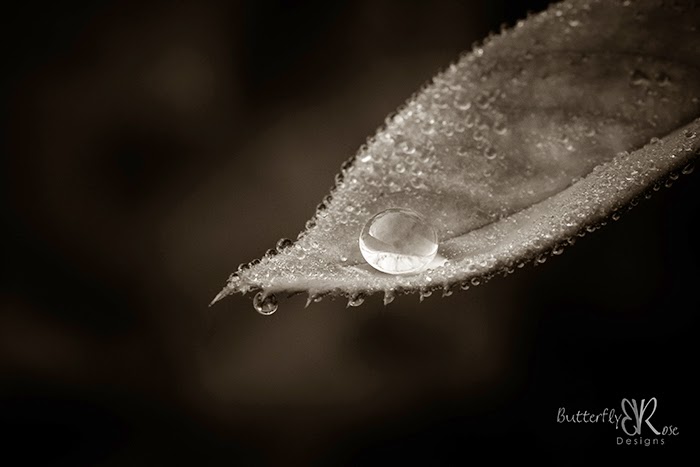
Day 133 - Activity
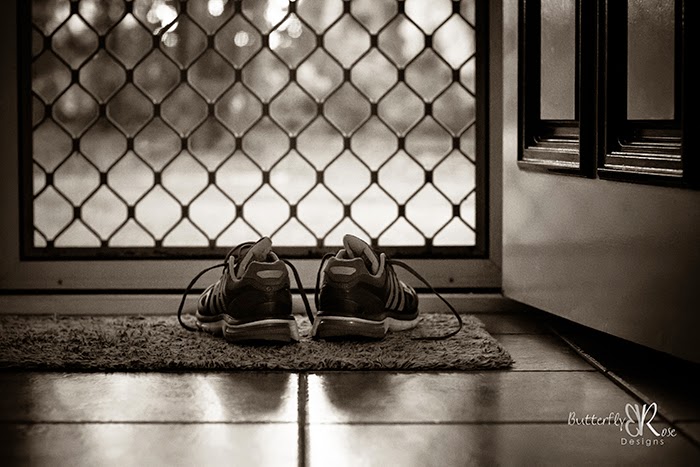
Day 134 - Healthy
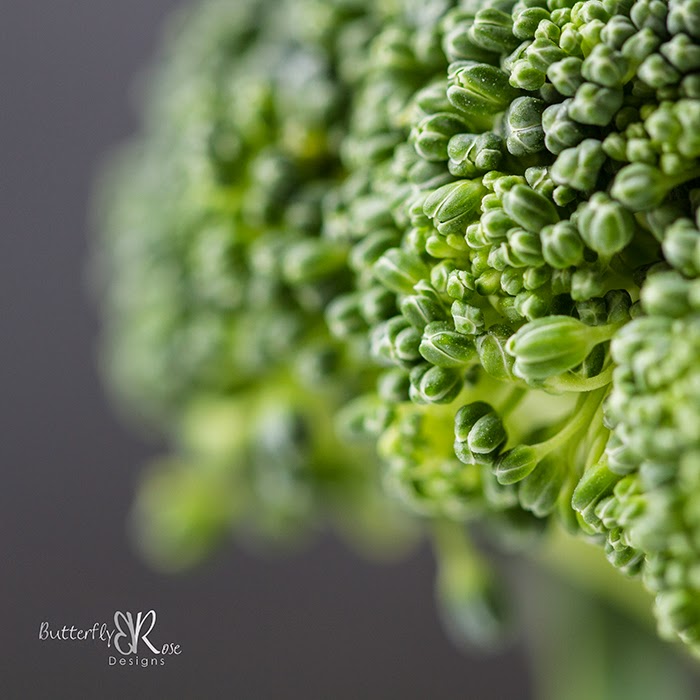
Day 135 - Make Believe

Day 147 - Monochromatic
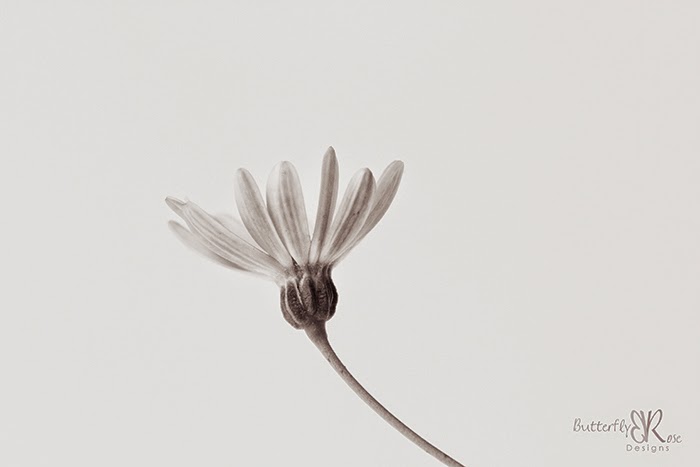
Day 151 - The Present

To see the rest of my images or join in with your own project, why not pop over to Capture Your 365 . It doesn't need to be January 1 to start. You can start today.
Subscribe to:
Comments (Atom)


